Sunday, September 27, 2015

The Browning Orchard Festival

The Department of Agriculture Sciences here at Morehead really is amazing. They do so many things here on campus that you really can't miss them. They even grow some of the food that is served to the student body.


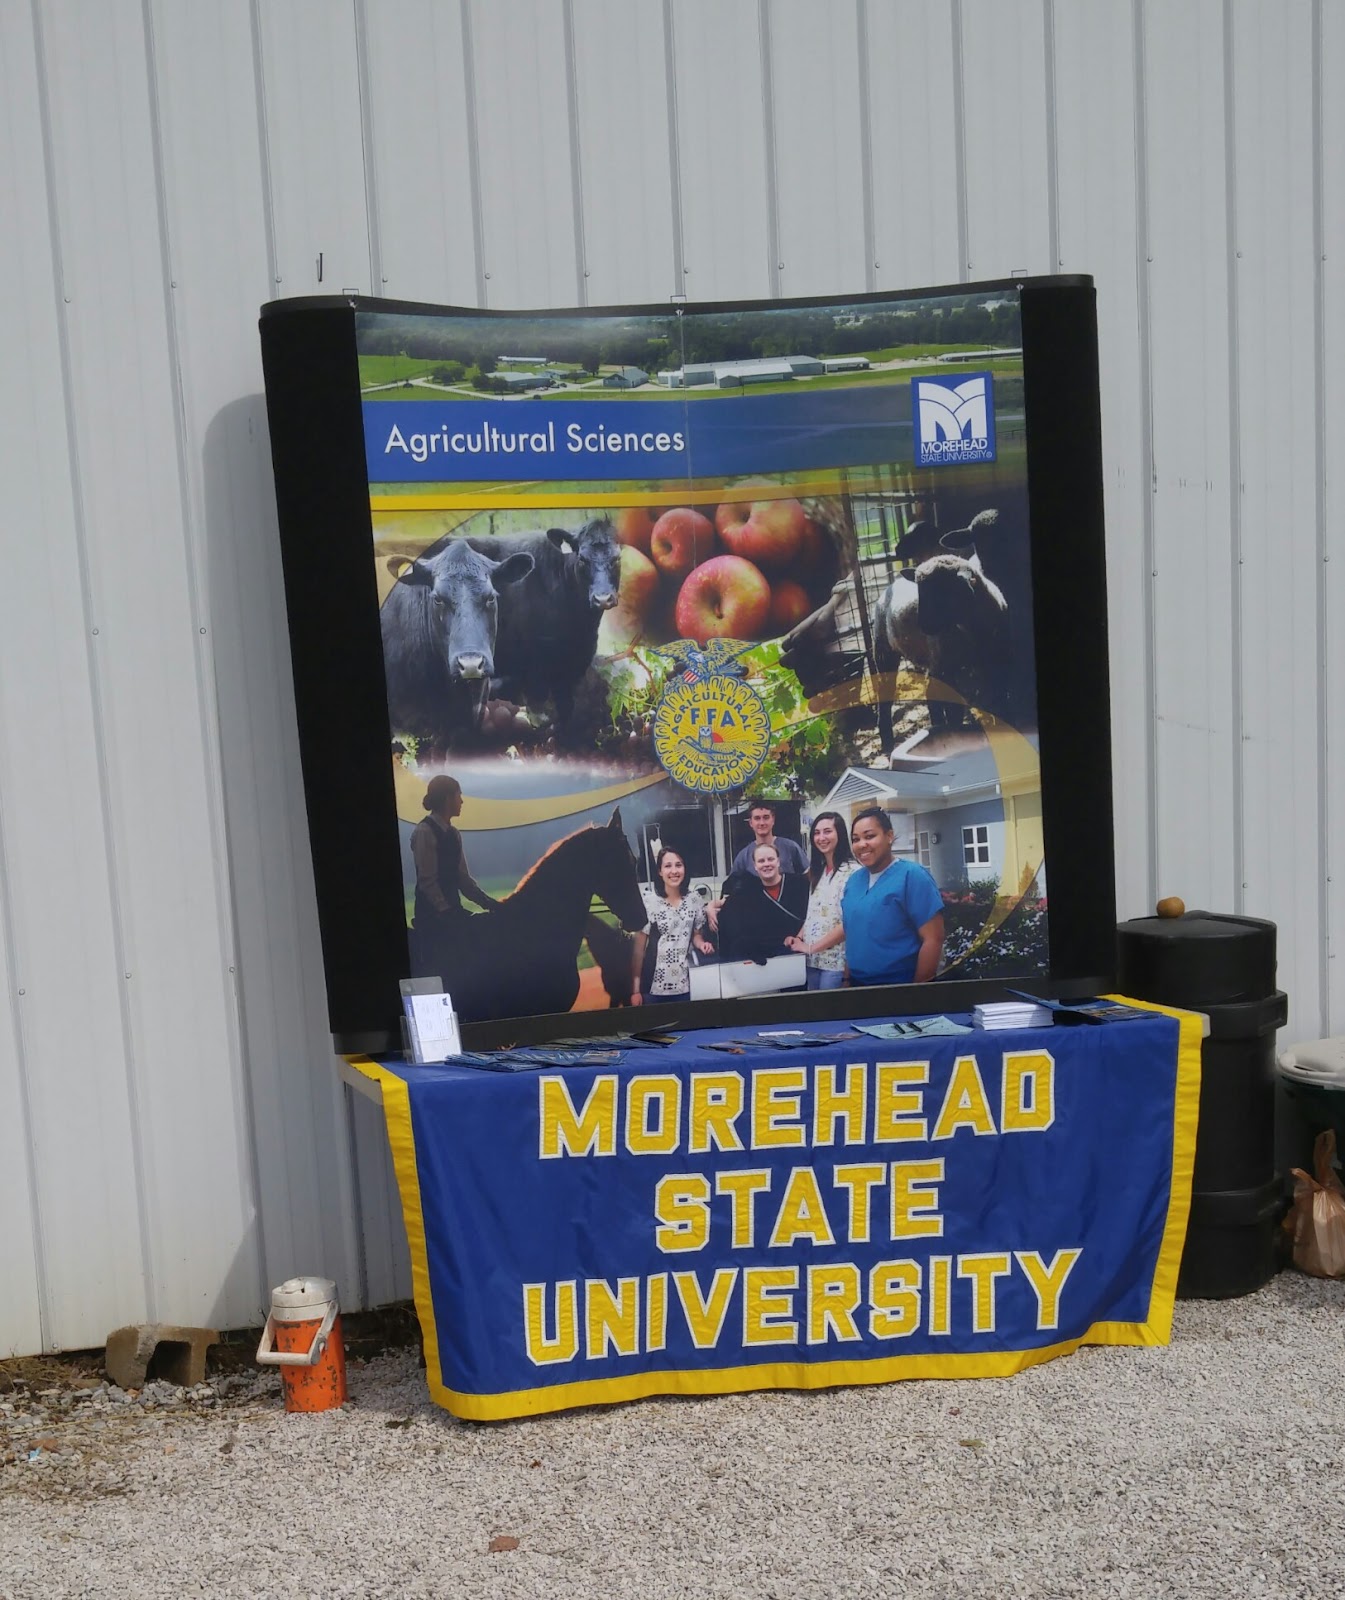
The thing with the Agriculture department is that much of your learning happens outside the classroom. Their farm is amazing, but it's a little known fact that Morehead also has an orchard.


It was donated several years ago by the Browning Family, and it's actually in Fleming County. Every year the Agriculture department sponsors the Browning Orchard Festival. Luckily, Craft decided to have a bus for us, and I got to go. 

First of all, this orchard is gorgeous, and this festival is a big deal. 


That's just some of the cars that were there. (Before you ask, I did not walk out to get this photo. I'm no where near dedicated enough to this blog to walk out in the middle of a field to get a photo. I was on a hay ride, but that comes later) 

After we ate, we walked through the farm store. There they had apples, apple cider, honey, and MUMS!


Now, I'm a sucker for a pretty mum. So..... 


I'm now a proud plant parent. I think I'll call it Charlotte. I'm so proud of you, Charlotte. 

Anyways, I wandered back to the main tent where they had live music. I made it just in time to see Dr. Andrews join the band and serenade us with "I'll Fly Away". 

(That's him in the blue.)
He sang several songs with the band, and it was just wonderful. I love the fact that Dr. Andrews does this kind of stuff all the time. He's not someone who sits behind a desk and is never seen. He's out and about on campus. He talks to the students. He's really very personable. 

Next we decided to take a hayride. 


They took us to an old schoolhouse that is on the Browning property. The University restored it to its original beauty. 


The school housed grades 1-8. Children that wanted to go to high school had to move in to Flemingsburg or go without. Over the years, the Poston Schoolhouse played a major role in the lives of the families living near the Browning Orchard.


While they were restoring, they came across a painting from 1948 that one of the students did. 


One of the students in the Art Department restored it. It looks brand new. 


The schoolhouse sits atop a little knoll. Needless to say, it has a beautiful view of the Kentucky landscape. I think I'll always be in love with the rolling hills here. There's just something so overwhelmingly comforting about them. 

After the schoolhouse we went back to the main festival site, and enjoyed some caramel apples. 


They were so good we forgot to take a picture. So here's our half-eaten caramel apples. I must say, those were the best apples I've ever had. 

Then we loaded back up and headed home. All in all, it was a fun festival, and I'm glad I got to go. I wouldn't say that this is an absolute must; however, if you're in the area next year, come check it out. 


Sunday, September 20, 2015

Lemon Tea Cake


There's nothing, absolutely nothing, like a good lemon cake. My mother would agree. I originally made this cake from a recipe I found on Pinterest for Mother's Day. I've made it several times since then and tweaked it considerably.

If you're looking for a quick, easy delicious cake, this is what you want. It's the perfect base for strawberry shortcake, companion to tea, or breakfast item. Hands down, bottom line, no further questions, it's just delicious.

Here's what you'll need:


Alright, so full disclosure, I don't normally do things in this order, because I'm terrible at planning ahead; but, this is the easiest way to do things. 

Quick note, for this I've found that the eggs, milk, butter, and lemons all need to be at room temperature. If they aren't the cake will fall and have this weird texture. Don't be afraid to leave your eggs and milk out, nothing bad should happen. 

First, sift together flour, baking soda, baking powder, and salt together. 


 Next, grate 1/4 of a cup of lemon zest. It works out to the zest of about four small lemons. 

Squeeze 3/4 of a cup of lemon juice into a measuring cup. It's really important that you use fresh lemons, not the yucky stuff that comes out of the bottle. To that, add 3/4 of milk. It doesn't matter what type. 2%, 1%, Whole, Organic, anything will work just as long as it comes from a cow. Add 2 Teaspoons of vanilla, give it a stir, and you'll have this glorious-ness. 


Alright, at this point everything should be ready to be dumped in the mixer. Yay! 

In a mixer, fitted with a paddle attachment, beat 2 sticks of butter with 2 cups of granulated sugar. 


As it's beating, add it four large eggs and 1/4 of a cup of lemon zest. 


To that yummy-ness, add the lemon juice, milk, and vanilla mixture. 


If it looks "curdled" don't worry. That's normal! 

To that, add the dry ingredients: 


It's a really wet batter. If you want it to be dryer, just add a bit more flour. 

Pour the batter into a bread pan. This recipe also makes four 6-inch loaves. 


I overfilled this pan just a bit. Basically, you want to fill it until it's an inch from the top. Even so, I'd put a cookie sheet under the pan to be safe. 

Bake it at 350 for 45 minutes to an hour until a toothpick comes out partially clean. After it's baked, turn the oven off and let it sit in the oven for five to ten minutes. 

For the glaze

Here's what you'll need: 


In a small sauce pan, combine the zest and juice of one small lemon and half a cup of powdered sugar over low heat.


Yum!! Turn the heat up so that the mixture simmers for just a moment. You'll end up with a clear, yellowish syrup that's the most amazing liquid on earth. It will take all your strength not drink it all or take a bath in it. Or take a bath in it while drinking it. Anyways, this stuff is good. Real good. 

Turn your cake out on a board: 


BOOM! Okay, okay, so it's not the prettiest cake in the world, but it's delicious. That's all that matters isn't it? 

Spoon the glaze over the top of the cake, and try not to gobble the whole thing down while it cools. 


Enjoy! 

Lemon Tea Cake: 

Ingredients: 

For the Cake:
2 Sticks of Butter, room temperature 
2 Cups Granulated Sugar 
4 Large Eggs, room temperature 
1/4 Cup Freshly Grated Lemon Zest (About 4 Lemons)
3 Cups All-Purpose Flour 
1/2 Teaspoon Baking Powder 
1/2 Teaspoon Baking Soda 
1 Teaspoon Salt 
3/4 Cup Freshly Squeezed Lemon Zest 
3/4 Cup Milk, room temperature 
2 Teaspoons Pure Vanilla Extract 

For the Glaze: 
1/2 Cup Powdered Sugar
The Zest of One Lemon (About 1 1/2 Tablespoons) 
The Juice of One Lemon (About 1/4 Cup) 

Directions: 

1- Zest lemons. Set Aside. 

2- Mix 3/4 cup of lemon juice, 3/4 milk, and 2 Teaspoons vanilla. Set Aside. 

3- Sift together flour, baking powder, baking soda, and salt. Set Aside. 

4- In a mixer fitted with a paddle attachment, beat together butter and sugar. Mix for about 5 minutes, adding lemon zest and eggs. 

5- Add the lemon juice/milk/vanilla mixture. Mix thoroughly. 

6- In one dump, add dry ingredients to wet ingredients. Mix thoroughly. 

7- Pour batter into a well greased pan. Bake at 350 for 45 minutes to hour.

8- Turn oven off and allow cake to sit in the turned-off oven for five to ten minutes. 

9- While the cake is cooling, combine the zest of one lemon, the juice of one lemon, and 1/2 cup powdered sugar in a saucepan over low heat. Allow glaze to simmer for just a moment, and then remove from heat. 

10- Turn the cake out onto a board. Poke holes in the top and spoon the glaze over the top of the cake. 

11- Let cool. Enjoy! 


Here's the link to the recipe I adapted to make this one: 

http://chindeep.com/2010/06/16/lemon-tea-cake/


Love and Happy Reading!

Gayle 


Wednesday, September 16, 2015

Hello Little Squirrel


What's that?


Could it be? 

Oh, it's a little old squirrel, don't you see? 


Hello, Mr. Squirrel. Are you quite well?


Oh no, Mr. Squirrel with your fluffy, fluffy tail, don't bid us farewell. 


Don't run away! We have no interest in your plot. 


All we want is your shot. 


But, alas! You will not give your shot. Enjoy your tree, Mr. Squirrel, and think of us three.

Monday, September 7, 2015

Cream Cheese Chocolate Chip Cookies


I love chocolate chip cookies. If there's a good chocolate chip cookie nearby, I'll eat it. This is my absolute favorite cookie recipe! Replacing some of the butter with cream cheese adds richness and texture. Other than that, this is your basic chocolate chip cookie recipe. 

Here's what you'll need: 


Cornstarch? Yes, it's a little unconventional for cookies, but it keeps them shiny. 

First, cream together butter, cream cheese, sugars, egg, and vanilla. 


It's very important that both the cream cheese and butter are at room temperate. The ingredients will need to be beaten together for about five minutes. 

When it's done it should look like this: 


Meanwhile, combine flour, cornstarch, baking soda, and salt in a sieve. This is really important because it will make the cookies lighter and keep lumps out of the batter. 


In one dump, add the dry ingredients to the wet ingredients. Mix it up until just combined. 


Now for the chocolate! I like my cookies really, really chocolate-y (who doesn't) so I use three cups of chocolate chips for this recipe. I also use a mixture of semi-sweet chocolate chips and milk chocolate chips. This time, I used two cups of semi-sweet and one cup of milk chocolate, but whatever you have on hand is fine. You could even use white chocolate or butterscotch chips or even substitute dried cranberries and nuts. This dough really works for just about anything. 

No matter what your "filling", make sure to coat it in flour. For three cups of chocolate, I used one quarter cup of flour. 


So your final product looks something like this: 

 I could eat all of it raw.


Now, this is the part that takes the most time. It is really important that you chill the dough. It needs to be chilled for at least two hours. I prefer to chill it overnight, but if you're in a pinch for time thirty or forty-five minutes in the freezer will do the trick. 

Just wrap it up in some cling wrap and forget about it. It'll last for up to five days. 


When you're ready to bake it off, drop it by rounded spoonfuls on to baking stones or sheets. This dough doesn't expand very much so you don't need to leave much space between each cookie. 


Bake in a preheated oven at 350. If you use baking stones, bake for about twenty minutes, turning at about ten minutes. If you use baking sheets, bake for about fifteen minutes, turning at seven minutes. 

Here's what they look like right out of the oven: 


I may or may not, have cooked them a wee bit too long, but they're still delicious. They are crunchy on the outside, soft in the middle, and everything a cookie should be! 

Enjoy! 

Cream Cheese Chocolate Chip Cookies 

Ingredients: 

1/2 Cup Softened Butter
1/4 Cup Cream Cheese, softened 
3/4 Cup Light Brown Sugar, packed 
1/4 Cup Granulated Sugar 
1 Large Egg
2 Teaspoons Vanilla Extract 
2 1/4 Cups All-Purpose Flour 
2 Teaspoons Cornstarch 
1 Teaspoon Baking Soda 
1/4 Teaspoon Salt 
3 Cups Semi-Sweet and Milk Chocolate Chips 

Directions: 

1- Combine butter, cream cheese, sugars, eggs, and vanilla extract. Beat on medium-high speed until light and fluffy, about 5 minutes. 

2- Sieve together flour, cornstarch, baking soda, and salt. Add to wet ingredients. Mix until just combined. 

3- Add chocolate chips. Beat momentarily. 

4- Chill dough for at least 2 hours or up to 5 days. 

5- Drop by rounded spoonfuls onto baking stones or greased cookie sheets. 

6- Bake at 350 for twenty minutes (baking stones) or fifteen minutes (cookie sheets), turning halfway through. 

7- Allow to cool for five minutes on sheets. After that, eat 'em up! 


Love and Happy Reading, 

Gayle